
3.1 Creating Transcripts
Creating a transcript is as simple as creating a new document. This page walks you through the creation process and discusses several common approaches to structuring your transcript.
3.1.1 Creating a New Document
To create a new transcript, select the File > New menu item. This opens a new transcript window.
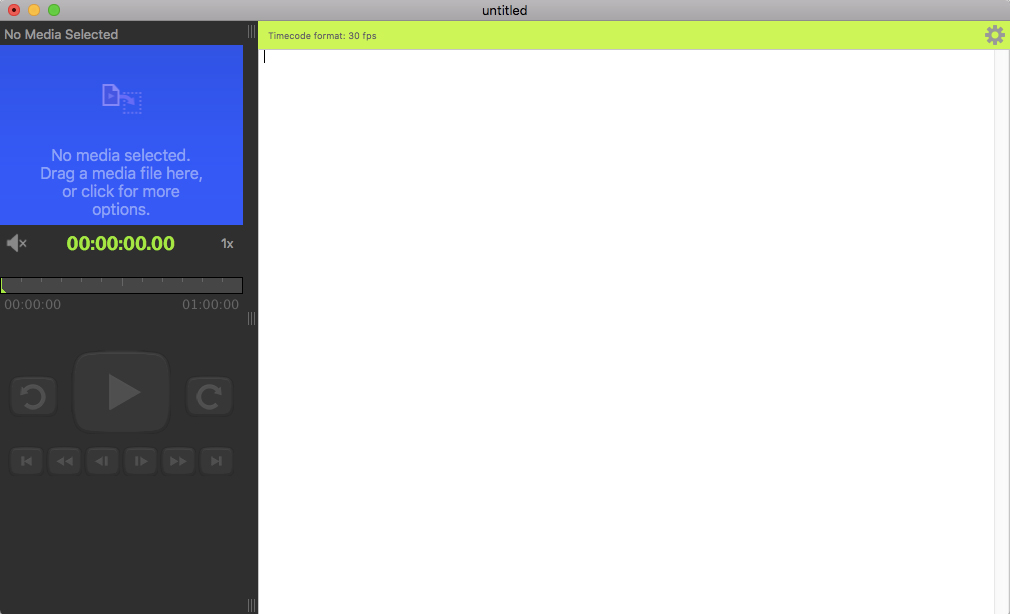
The left half of the window is devoted to displaying and controlling your media object. The right side of the window contains your transcript.
The transcript field is a free-form editing field, similar to a standard text editor. InqScribe does not impose any particular structure on your transcipts.
Usually, the first thing you do once you've created a new transcript is select a media source. See the documentation for Selecting Media Sources or the Quick Start Guide for more information about this step.
3.1.2 Transcripts and Timecodes
What makes InqScribe transcripts different from ordinary text files is the ability to insert "live" timecodes into the transcript itself. Here's an example.
[00:05:00.00] Something happened at the five minute mark.
The timecode itself is set off from the text via [brackets]. Any of several different kinds of brackets will work, including (parentheses), [brackets], {braces}, and <angle brackets>. This makes it easier to identify timecodes and ensures that if you happen to enter a time of day in your transcript, the time of day is not mistaken for a timecode.
Timecodes are also colored to make it easier to find them in the text. You can choose the color using the Preferences dialog.
You can also use the Transcript Settings dialog to force InqScribe to recognize timecodes without any brackets, or to change how inserted timecodes appear, on a window-by-window basis. (To change these values for all new windows, use the Preferences dialog.)
The timecode format is based on SMPTE timecodes. The complete format looks like "HH:MM:SS.FF" where HH = hours, MM = minutes, SS = seconds and FF = frames (InqScribe assumes that there are 30 frames per second, although you can change this). The hours and frames fields are optional, which means that InqScribe will recognize a timecode that looks like "10:30" (10 minutes and 30 seconds). You may also preface the timecode with a dash to indicate a negative time.
Here are some examples of valid and invalid timecodes.
- {10:30} (valid)
- (-10:00) (valid)
- [2:20:15.22] (valid)
- <12:223:00> (invalid; no fields in the timecode can be more than 2 digits)
- (12:3:00) (invalid; only the leading field can have a single digit)
Timecodes can be thought of as "bookmarks" within your transcript. They refer to specific times within the media object, and you can use timecodes to quickly jump to those times within the media.
Note: By default, the time at the beginning of your media object is always "00:00.00". However, you can change this starting time by using the Start Time field in the Select Media Source dialog. You can also use timecodes based on the time of day or a stopwatch by defining an Offline Media source.
Inserting Timecodes
You can insert the current media time into your transcript in several ways.
- Type it in yourself.
- Select the Edit > Insert Time menu item. This inserts the current time into your current selection, just as if you typed it in yourself.
- Press command-; (on Mac) or control-; (on Windows). (This is the menu key associated with the Edit > Insert Time menu item.)
- Click the green current timecode display under the media.
- Select the Edit > Copy Time To Clipboard menu item, and then paste the time into the transcript manually.
- Define a keyboard shortcut to insert the current time, and use it.
- Define a snippet to insert the current time, along with some other text of your choosing, and use it.
Where Do Timecodes Go?
It's up to you where you put timecodes in your transcript, but in terms of general use, we recommend placing timecodes before the text to which they refer. The example above illustrates this practice.
The advantage of adopting this approach is that it will make exporting your transcript for use with other applications easier. But there's nothing wrong to inserting [00:05:36.15] timecodes within [00:05:55.00] a paragraph like this, or setting them off on their own line. It all depends on your needs and existing practices.
Navigating via Timecodes
There are two primary ways to use timecodes to navigate within your media object.
- Select the Media > Go To... menu item, and enter or select a timecode in the dialog that appears.
- Use a timecode as a hyperlink by clicking on it. (Note: If you want to select text within a timecode instead of jumping to that time in your media, then hold down the option key (alt key for Windows). This changes the cursor to a regular text selection cursor, and you can select the text normally.)
Spelling and Grammar
InqScribe offers support for Apple's standard spelling and grammar tools on macOS platforms. To access these tools, alt-click in InqScribe's text area and select "Spelling and Grammar." Here, you can trigger a spell check, turn on grammar suggestions, toggle autocorrect, etc.
Toggle these tools on and off using the "Check Spelling" field in the Transcript > Transcript Settings... menu. To change the default spelling and grammar behavior of new InqScribe files, head to the New Document section of the Preferences dialog.
3.1.3 More About Transcripts
Read more tips about working with transcripts, including notes about adjusting lots of timecodes at once, planning ahead so you can use your transcripts with other applications, and structuring transcripts in a variety of ways.