Creating InqScribe Documents
InqScribe documents bring together your media and your transcript within a single window. So the first step to transcribing is to create a new document.
To create a new InqScribe document, select the File > New menu item.
The left side of the window is devoted to displaying and controlling your media object. The right side of the window contains your text.
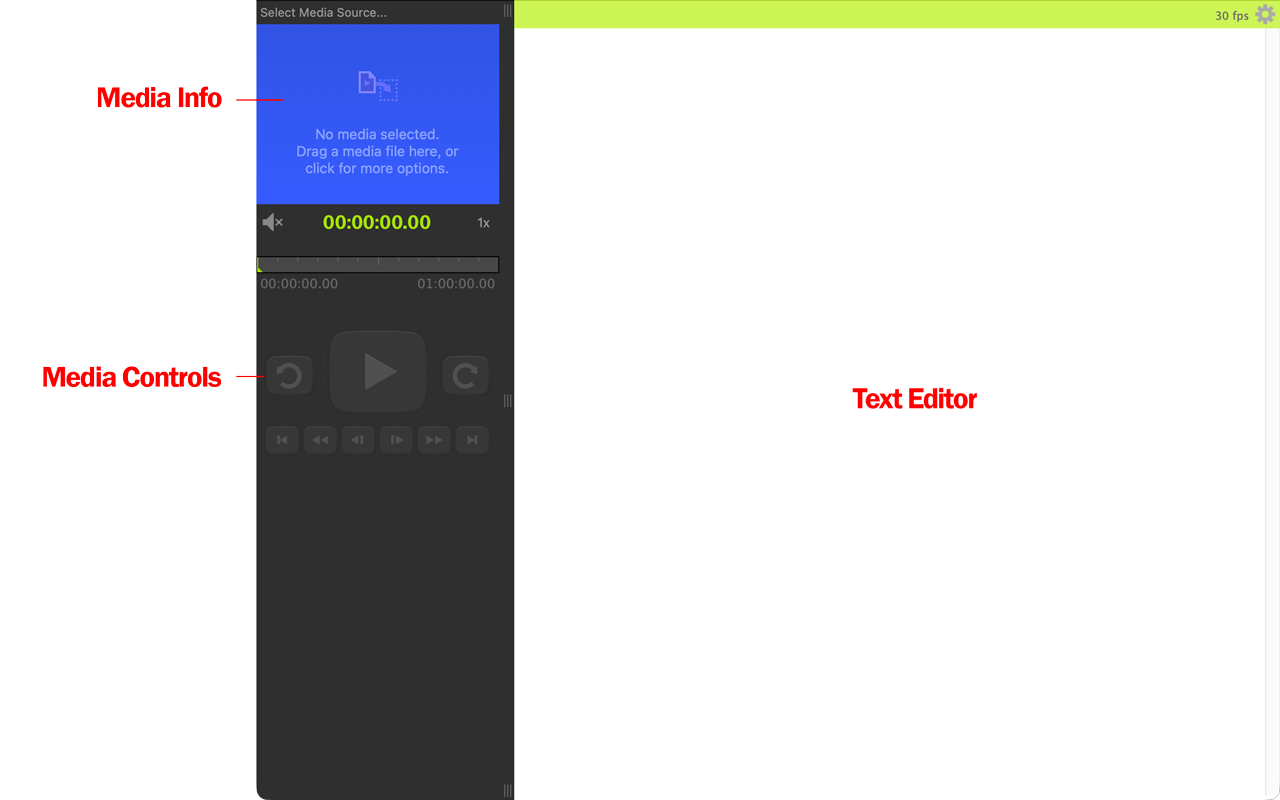
The text field is a free-form editing field, similar to a standard text editor. InqScribe does not impose any particular structure on your transcripts.
Usually, the first thing you do once you've created a new document is select a media source. See the documentation for Selecting Media Sources or the Quick Start Guide for more information about this step.
Transcribing
Once you have added a media file to your InqScribe document, the next step is to transcribe it. There are two ways to populate the transcription field in your InqScribe document: automatically or manually.
- Transcribe automatically: Generate an AI-enhanced speech-to-text transcription, created and stored privately on your computer.
- Take notes manually: Type freely, mix notes and transcripts, add analysis codes, or leave time-stamped comments. Using InqScribe's convenient media control features so your hands never have to leave the keyboard.
Tip
The automatic and manual methods can be combined. For instance, you can first generate an automatic transcription, then manually edit it, adding additional notes, codes or comments. Or, you can start with a first-pass review of your media, typing general notes, and then add a word-for-word automatic transcript beneath that.
Learn more about creating automatic transcriptions.
Learn more about working with transcripts and timecodes.